Food, recipe

Mussels and Italian Sausage Fra Diavolo

I love seafood. I love it most when it’s done right and still affordable. And that sometimes means that you are going to get the most bang for your buck if you do it at home. Mussels are one of those seafood treats that only look expansive and fancy. In reality they are one of the cheapest, freshest options in your local seafood case. So skip the shrimp, oyster and lobster and head straight for the mussels. Mussels are endlessly versatile, most often you seem them in a white wine sauce. They can also be done with bacon and smoked gouda which Lloyd lloves!. But today I went with a yummy, spicy, tomato based Fra Diavolo sauce.

dGcocwr4Sb218ev9pYdZ%A

If you haven’t cleaned your own mussels at home and are wary of making yourself sick never fear! I am here for you! Check out my guide on How to Prep Mussels at Home. Once you have your mussels prepped let them sit in a bowl cold of water until you are ready for them. I like to wipe down all my surface after cleaning the mussels before pulling out my meat and veg for the next part of this meal. So having them tucked neatly away works best for me. But I am sure that for the sake of saving time that you could clean these babies while your sausage cooks.

n062dubtghubzrwcbk8a.jpg

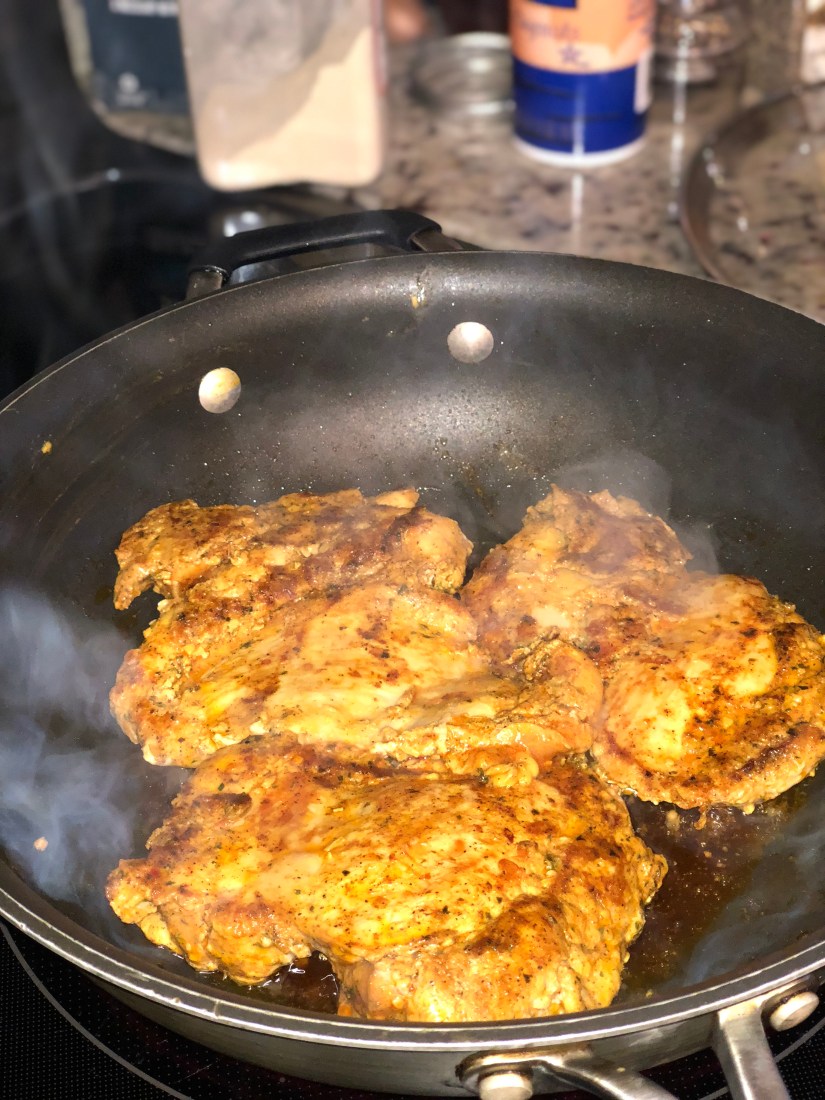
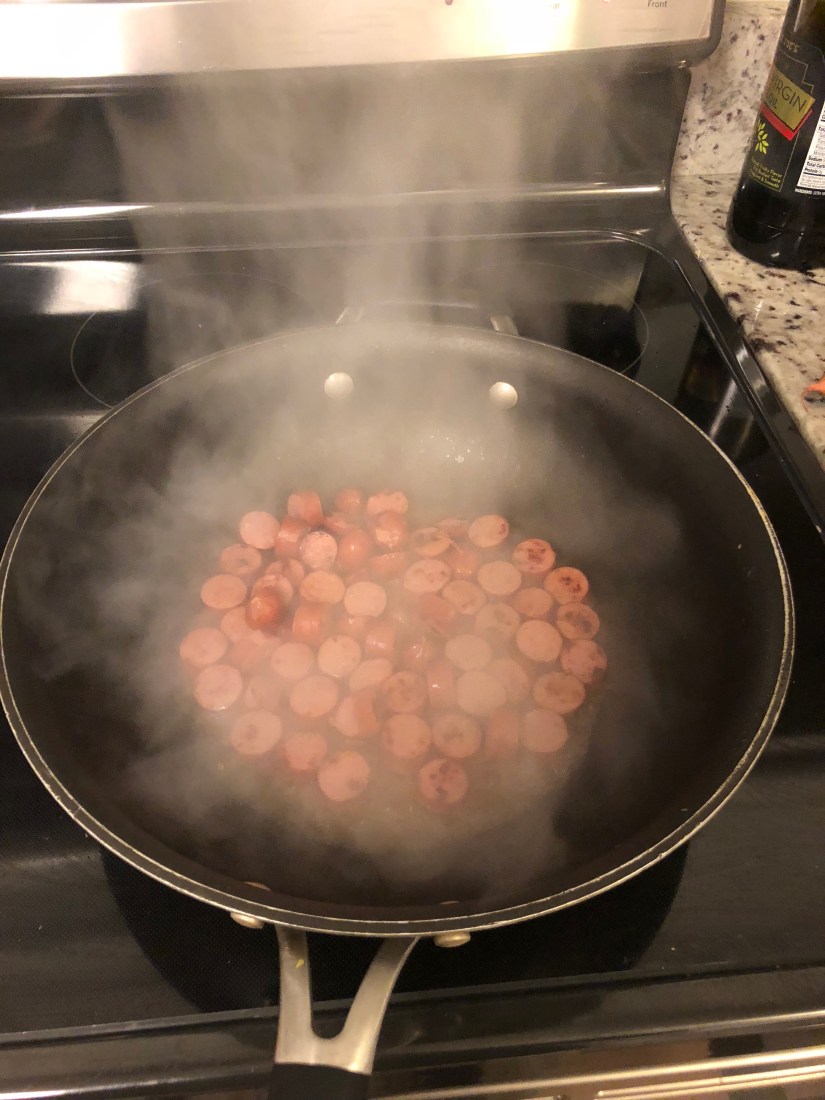
I use turkey sausage because it’s healthier, less heavy and easier to cook with since you get to skin the “drain the pan” step. I remove the casings from these pretties and pop them straight into the dutch oven I’ll be serving from.

While these guys are cooking I get a pot of water ready to boil my pasta in. This usually takes about fifteen minutes and by that time the rest of your sauce should be ready so the timing usually works out pretty well. Make sure you liberally salt your water. This is where your pasta is going to get it’s flavor.

Hoej2QcqQo6V4vfJkDV6Kg

While your sausage is cooking and your water is starting to heat chop up some shallots and green onions and add these to the pan with your sausage.

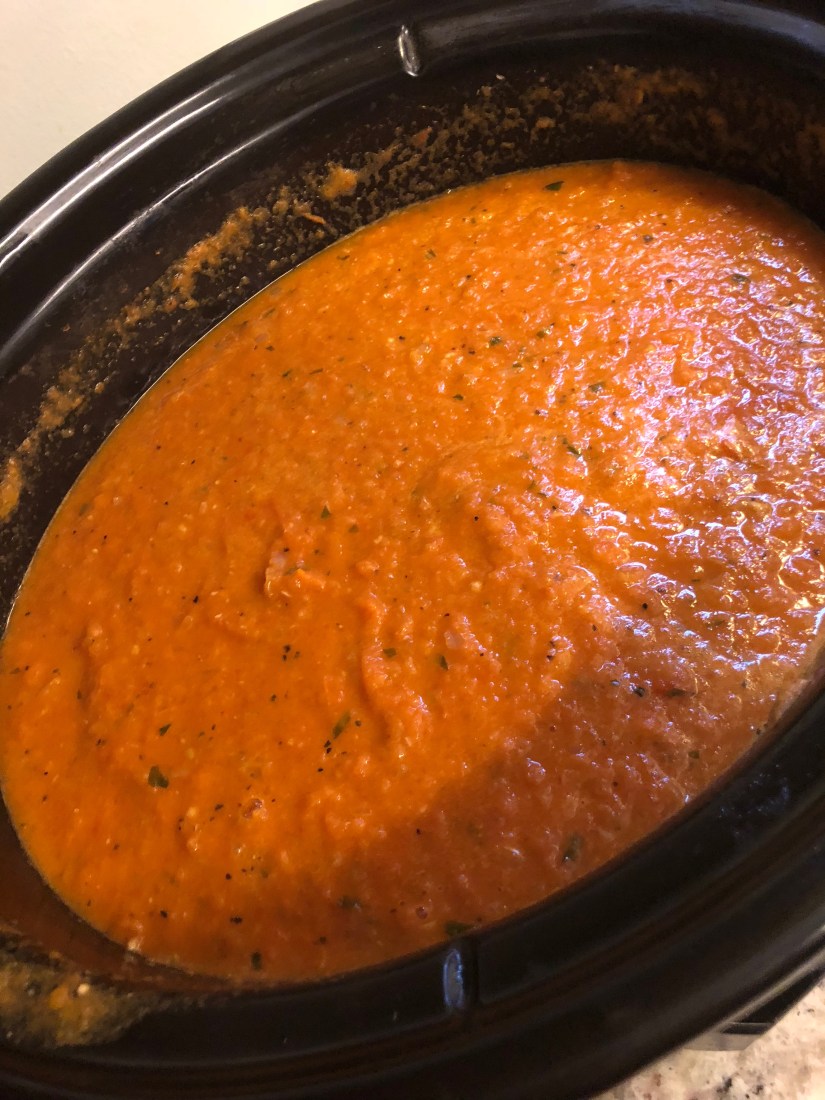
Now it’s time to add in your crushed tomatoes. Only, I didn’t have crushed tomatoes. I thought I did but it turned out to be diced tomatoes. So I poured them into a tall cup and used my immersion blender to make them crushed. I also added in my spices and wine so that it was really easy to add to the pan once I was ready for that step.

Wait for your sauce to naturally thicken as the wine cooks off, stirring occasionally. Once the sauce was ready I dropped my pasta in the boiling water to get the cooking process started but I pulled them out about six minutes early so that the could finish cooking with the mussels in my sausage Fra Diavolo sauce. I used whole wheat pasta because it takes longer to cook, has a richer taste and holds up better when you cook it in a sauce like this.

As soon as the pasta goes in it is finally time to add your mussels! Drain the cold water off and add them to your sauce. Mix everything together and put the lid on. You want a nice tight fitting or heavy lid so that no steam escapes and your mussels get cooked fully.

Leave that lid on for five minutes. Do. Not. Peak. While your mussels are cooking you can do some last minute prep work. Put your bowls in the microwave so that they are nice and warm and grate some fresh garlic and chop up some basil. You want to add these straight into the pan as soon as you pull the lid off and give everything one last good stir so that they cook and release their flavors evenly.

When you pull that lid off and the cloud of steam dissipates you should see the welcome site of all these gorgeous open mussels.

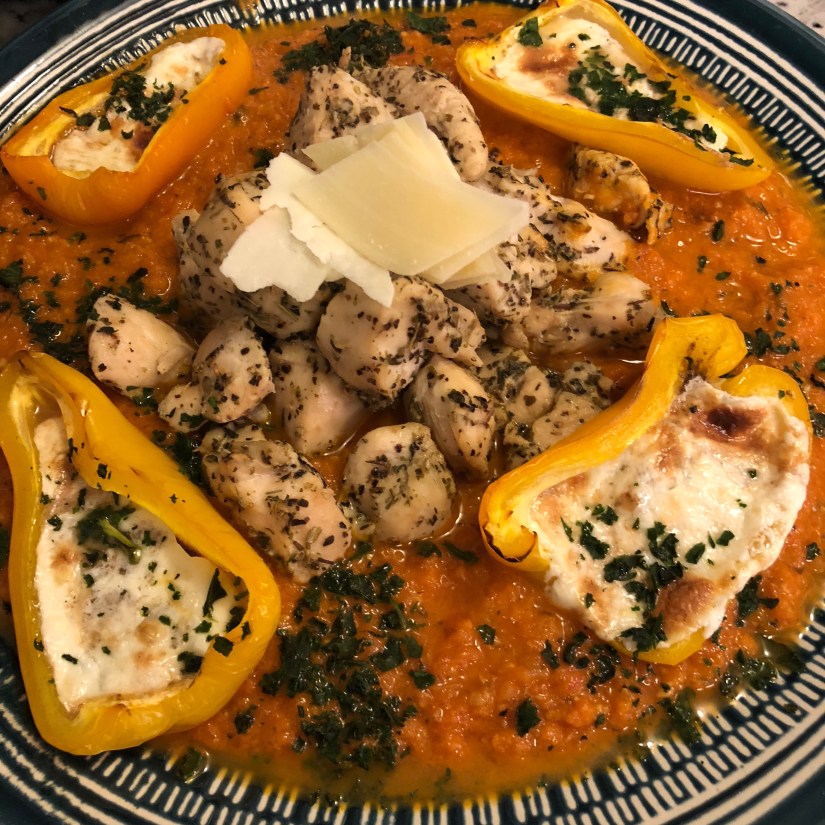
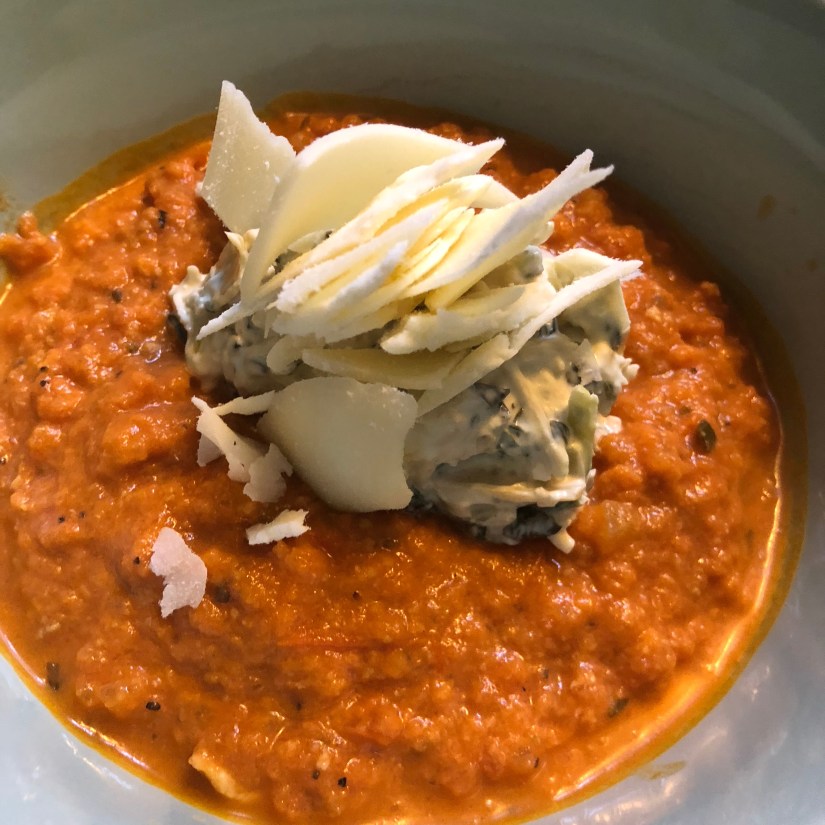
When you serve it I suggest a dusting of shaved parmesan and a sprinkle of chopped basil leaves. It makes things more colorful and that fresh basil taste really offsets the spiciness and richness of the sauce.

IMG_1654

Note on mussels serving size: The bulk of the weight when you buy mussels is the shells. Usually for a main I aim for about a half lb of mussels per person when I’m mixing them into something hearty like this. If I was just doing mussels in a wine sauce with bread or frites I would shoot for closer to a pound a person. But if I was serving them as an appetizer I would only want a quarter pound per person. 

Ingredients:

  1. 1 lb fresh mussels
  2. 1 lb Italian sausage
  3. 1 large shallot chopped
  4. 3-4 scallion bulb ends diced
  5. 1 can crushed tomatoes
  6. 1 cup dry white wine
  7. 1 Tbsp crushed red peppers (or to taste)
  8. 8 oz uncooked whole wheat pasta
  9. Salt and pepper to taste
  10. 3-4 grated garlic cloves
  11. 10-15 chopped basil leaves (reserve some for garnish)
  12. Parmesan cheese for garnish

Recipe:

  1. Clean and prep mussels.
  2. Start well-salted water to boiling.
  3. Remove casings and cook sausage in heavy bottomed pan with a tight or heavy lid.
  4. Chop onions big and add to pot.
  5. Once onions are translucent add in crushed tomatoes, wine, crushed red  peppers, salt and pepper and simmer until wine is cooked off.
  6. Add pasta to boiling water and cook for 6 minutes less than suggested time.
  7. Transfer half cooked pasta and mussels into pot, stir well and cover with lid. Do not touch for 5 minutes.
  8. Grate garlic, shop basil, heat serving bowls.
  9. Open lid and add in garlic and most of the basil leaves, stir well.
  10. Serve in heated bowls with a sprinkling of cheese and reserved chopped basil leaves.
Food, recipe

Turkey Salad Wrap

I had to make a quick lunch the other day and luckily I had a small turkey breast in the fridge which I decided to dice up and make into a salad. This time of year it’s easy to find these hunks of ham and turkey. I suggest grabbing them and freezing them for use later on in the year.

Kr7f1vHDT66jrWaSz9qzVQ

Cube the meat and add in some mayo. I know that in some places salad doesn’t mayo. Those places aren’t the south. That being said you don’t need a ton of mayo, just enough to light coat the meat.

ugOShiTTTdOpqEt+2PkzvA

Next it’s time to add any mix-ins you want. I used a trip of bell peppers, some chopped chives and parsley, a little stone ground mustard (Lloyd’s favorite), and pepper. I don’t typically add extra salt as deli meat is usually salted well enough.

CRR8KkrASSiSwfq803onzQ

Give it a good mix until everything is well coated. See, you don’t need a ton of mayo.

IW0NFoGhTiiDEmOhOh1UWA

Next it’s time to assemble. A little lettuce, a little shredded cheese and you are ready to go!

Roll it up and serve! Any extra salad can be kept in the fridge for about 3-4 days. You could also make these ahead of time and eat them for a few days. If you spread the salad greens evenly across the wrap it will stop them from going soggy from the mayo.

7EV%NFKHT4Okzadsp4MVkg

Ingredients:

  1. 1 small package of spiral cut ham or deli trukey
  2. 3 small bell peppers (red, yellow and orange) or one large one
  3. 1 Tbsp chives
  4. 1 Tbsp parsley
  5. 1 Tbsp stone ground mustard
  6. Pepper to taste
  7. Wraps
  8. Salad greens
  9. Shredded cheese

Recipe:

  1. Cube your meat
  2. Add in your mayo, bell peppers, chives, parsley, mustard, pepper
  3. Stir well to coat everything evenly
  4. Place salad greens, cheese and turkey salad on wrap and roll up
Food, recipe

Trader Joe’s Chicken Shawarma Wrap

fullsizeoutput_5995.jpegSometimes you have the time to make a complicated meal, like my Herbs de Provence Chicken with Roasted Vegetables and Ratatouille but sometimes you want something quick and easy. When I want to get dinner ready quickly Trader Joe’s is usually my go to spot. It’s the closest grocery store to my house and I know where everything is. I can pick up a package of meat, some veggies and a carb and have dinner ready to go within thirty minutes of getting home. This week I found a new meat! Shawarma Chicken Thighs!

DuXYsd0USxCBSyQwajg

I sometimes crave Indian food but don’t have the time or energy to fix it. So when I saw this packet I was immediately excited. I’ve used these pre-marinaded packets from Trader Joe’s before and they are endlessly versatile. But I knew exactly what I wanted to make with these so I did a quick lap through the store and picked up some sauces and a packet of garlic naan and sped home.


The Zhoug sauce is very similar to an Indian green chutney with garlic, mint, chillies and coriander. And the Tzatziki is like Indian raita, minus the cumin and add in some dill. So not identical flavors but comparable in a pinch. And of course I had to have garlic naan. I know they sell regular naan at Trader Joe’s but I just don’t understand why anyone would want the plain stuff when there is garlic to be had.

Mi533dEjTpCrzyrJSR9HhQ

I cooked the chicken in a non-stick pan, using low sodium chicken stock to deglaze, took it out of the pan and let it rest before cutting it into strips.

fullsizeoutput_5994

While the chicken was cooking I threw my naan in the oven to defrost 350 fahrenheit on a baking tray for about 5-6 minutes. And chopped up some leafy greens and cherry tomatoes I had in the fridge.


Now all that was left to do was assemble and enjoy! I would point out that virtually and combination of chicken, sauce, vegetable carb could be used to make this more to your taste. The Joe makes a delicious pesto chicken, for instance, which could be paired with tomatoes, greens, mozzarella on focaccia bread and drizzled with a good balsamic reduction.

b8n7DbWHTzWSF8Q7LD9Mug

I should also mention that I loved this chicken so much I went back for a second packet later in the week and made salads with them instead of wraps because carbs are evil. I used the same base of greens and cherry tomatoes and the two sauces I mentioned above.

IMG_1379

I also added in some petite diced yellow bell peppers and half a shallot for color, flavor and texture.


See it is endlessly customizable! I’d love to hear how you you made this idea your own with this chicken or any other! New ideas are always welcome!

Ingredients (makes 4):

  1. 1 packet of Shawarma chicken thighs
  2. 1 container Zhoug sauce
  3. 1 container Tzatziki sauce
  4. 1 packet garlic Naan
  5. Cherry tomatoes
  6. Fresh greens
  7. Unsalted chicken stock

Recipe:

  1. Heat a non-stick or cast-iron pan to medium hat, gently drizzle with olive oil and place meat in pan. Leave it alone until you can see that meat has started to shrink. Deglaze with a little chicken stock. Flip and continue to cook. Keep covered for a portion of the time to lock in moisture. Depending on your pan, thickness of the meat and heat of your stove total pan time could take from 20-35 minutes.
  2. Chop your cherry tomatoes and salad
  3. Take your chicken out of the pan and allow it to rest
  4. Heat your naan in the oven according to package instructions
  5. Chop your chicken into thin strips
  6. Assemble by putting salad on your naan, placing the chicken on the salad bed and drizzling on dollops of your Zhoug sauce and Tzatziki. Sprinkle on some tomatoes. You could also add some onions or coriander to give it a little extra Indian oomph.
Food

Crockpot Tomato Soup, Four Ways

It’s cold in Virginia right now, winter is clinging to the ground and the air and my bones need soup. Soup means crockpot time. I know crockpots are getting a bad rap right now because of that episode of This is Us. But they really do make life a lot easier. I tend to get done early on Mondays so I like to make one thing in the crockpot that I can tweak and twist and use all week. Given the weather I went for a hearty tomato basil soup.

++K+If2hQVel9dkdiVXl0Q

I use my crockpot two ways, I either dump a bunch of stuff in and go off to work so that I can come home to a mostly ready meal. But sometimes I use my crockpot as a less needy dutch oven and add things in slowly and really let the flavors marry and come together slowly. I went for the latter technique this time because I had a bunch of little things to do around the house and this allowed me to add things and go get a task done before coming back to check on it. I started by caramelizing a bunch of red onions with butter, salt, pepper and garlic powder.


Once those were cooked down and I’d printed off all the labels for my amazon returns I started on my tomatoes. Since I have an immersion blender I tend to thick chop my tomatoes because they are going to cook down regardless of the size and nobody has time for a petite dice. But I do have a technique for my touch chop that can be done pretty quickly once you get the hang of it.

fullsizeoutput_55f4

First start with a pile of sexy looking tomatoes. The sexier your tomatoes the sexier your soup will be. That’s just a fact. Kidding, start by slicing your tomato in half, then remove the stem with two angled cuts and discard. Next you need to cut slices lengthwise along the tomato and then flip the whole thing around and cut perpendicular. Scoop ’em all up and add them to the crockpot. Easy Peasy, tomato choppy.


Once the tomatoes have been added in and you have seasoned again it’s a good time to throw the cover back on and let those bad boys stew. At some point your whole house is going to fill with the tangy smell of cooking tomatoes. At that point it’s time to revisit and add in the last few ingredients you need before it’s ready to be blitzed.


I love the roasted garlic you can find at most olive bars. I get a whole container and just pull them out whenever I need a little extra oomph in my food. I also love the perfect fresh balance that basil and tomato make so I chopped up some of that. And then you always need more salt and pepper. Once that has stewed for some more time it’s time to blitz. I wanted to make a nice little boomerang so you could see how cute my immersion blender is. Total fail.


Once I had blitzed the soup I added in some tomato paste, parmesan cheese, a dollop of heavy cream and a couple of splashes of low sodium chicken stock just to round out all the flavors. I also needed to add in a little more salt, garlic and pepper. Because crockpots are tricky and always need more than you think they will.

Now on to the three ways I decided to serve my soup! This was the fun part! Because you don’t want to get bored with all your hard work!

Day 1: Sausage and Parmesan Crisps

This one was fairly straightforward, while the soup was finishing off in the crockpot I chopped up some smoked sausage I had in the fridge and cooked it in a pan on the stove. My secret for cooking meat like this are a few splashes of low sodium chicken stock. It helps deglazes the pan and lets you steam rather than roast so they don’t dry out. This billowing cloud above my pan is steam, not smoke. I promise.

KCe%7Z3wTXS8PcXWxm3AXg

Next I took a 4 oz container of parmesan cheese and made twelve little piles on a silicone baking sheet and baked them at 400 degrees for 3 minutes to make amazingly easy and low carb parmesan crisps!

W4sqLClOQ4eEwIU2hKK8Bg

I know they look a little soggy but I put them on a paper towel to cool and they crisped up beautifully. They did get a little melty when I put them on the hot soup.

fullsizeoutput_584e

Day 2: Roasted Chicken and Stuffed Bell Peppers

I love herbs de Provence. It’s a wonderfully savory spice mix that goes well with a variety of proteins and flavors. I particularly like it with tomatoes so I decided to coat some cubed chicken in Herbs de Provence, along with salt, pepper, olive oil and a splash of red wine vinegar.

C9ACcMbFR7SweEg3IE8vOw

I set those aside to quickly marinade while I sliced open some small bell peppers and stuffed them with mozzarella I happened to have in my fridge. These little packets are actually meant as single size servings but I am amazed at how handy they are when I haven’t planned ahead.

AAudD2IQSOqW2pq5f5tolg

I ripped them up and stuffed them into the bell peppers. I added a little drizzle of balsamic vinegar because I love balsamic. I baked everything together on the same sheet pan while I reheated some of the soup up on the stove. I set my oven to 375 degrees and left everything in there for about 30 minutes.

AQG4SAJoSnCSSE9qYET1vg

I decided to be bold and serve my soup on a plate as it had gotten quite thick on the stove. It actually was pretty easy to eat this way and was a delicious treat after a long day at work because it was so quick yet surprisingly fancy and satisfying. Lloyd doesn’t usually stop to talk once food is in front of him but he put down his fork long enough to tell me it was good. Le sigh.

srV4DoGUTjq%FJRA+ihPBw

Day 3: Cheese Straws and Cheese

By the end of the week I was truly ready for something easy peasy. I throw the remains of the soup into a bowl and microwaved until it started splattering. I stuck a couple of cheese straws in there and sprinkled some cheese on top and called it a day. Honestly the simplicity of this meal was what made it so great.

N4yIz2wJRJ6l30vhLOXPmA

Day 4: Spinach and Artichoke Dip

And last but not least I just had a little bit of soup left and also some spinach artichoke dip and I figured that they would probably go really well together. I was not wrong. Also, the cheese ended up looking like the Sydney Opera House which was not intentional but totally cool.

rSI5IfLnQbu3hJ+iOlHaEQ.jpg

Soup Ingredients:

  1. 8 largish tomatos
  2. Half a stick of butter
  3. 1 large onion
  4. 6-8 garlic cloves (roasted or raw, dealer’s choice)
  5. 10-12 leaves of basil
  6. 2 Tbsp of tomato paste
  7. 1 Tbsp of heavy cream
  8. 1/2 cup of low sodium chicken stock
  9. Parmesan cheese to taste

Soup Recipe:

  1. Caramelize onions and butter with salt, pepper, garlic powder to taste in your crock pot (set to high) for about 1-2 hours
  2. Chop and tomatoes and cook until mushy for about 1-2 hours, season as you go.
  3. Add in basil and garlic once tomatoes are ready to be blended then blend. Do not splatter back splash.
  4. Add in heavy cream, chicken stock, tomato paste and parmesan cheese and let simmer for about another hour.
  5. Alternatively you could put everything into the crockpot at the very beginning and just let it stew for hours and hours until you decide to blend it up. It will still be delicious and is a lot less work.
Food

Zuzu Tapas Restaurant, Napa, CA

We only went out to eat once while in Napa, preferring to cook at home. But our one meal out was definitely a home run. Zuzu in Napa, CA is a tapas restaurant that has a full wine and beer list, serves tapas in the traditional Spanish small plate style and also has authentic sangria and paella on hand to satisfy any customer. I got to have dinner with two of my oldest friends (and bridesmaids), Ermentrude and Phryne. As well as my friend, Kimbrough, from Richmond, VA whose heart is as golden as her hair.

IMG_0410

I know small plates are a bit of a fad right now but tapas have been around for much longer than they have been hip in the restaurant scene. There are a couple of different origin stories but my favorite is that King Alfonso X of Spain had some mysterious illness that prevented him from eating large portions. So instead he ate only small meals with wine. This trickled down to the common people and became so popular that to this day wine must be served with food and so small plates are an integral of Spanish food culture. In fact when I visit my family in Spain we stop at this small restaurant in downtown Malaga and eat their entire tapas menu (except the sweet meats). The picture below is circa August, 2014. We are full of food and wine and all smiles!

IMG_6668

But back to Napa, 2018. When I was looking for restaurants I actually found two different tapas restaurants blocks from each other on Main St. After some research I decided we should try Zuzu and I am so glad we did. They don’t take reservations but after a short wait at the bar we were seated and able to cheers to an auspicious start to our Napa travels! They have a great wine collection and we enjoyed a lovely Tempranillo with dinner. But what’s better than Spanish wine with Spanish tapas?

The most difficult thing about tapas is trying to decide what to order. We decide to each pick 2 things and then threw in about three honorable mentions based on the staff’s recommendations. The staff was brilliant and knew exactly what order to brings things out in. They started with the cold items and slowly built up to the heavier offerings. It was the perfect meal and in true Spanish fashion took us over an hour to get through. Some of my favorite dishes were the seared rockfish, roasted beets, arugula and shaved truffle salad and calamari ceviche pictured below. I also loved the flat-iron steak and fried Manchego but by the time we got to the heavier dishes I had put my camera away so I could just enjoy the food and company.

Zuzu is a smallish two story restaurant and we were nestled under the stairs. It was perfectly cozy and intimate this way. And since I’m short I wasn’t even at risk of banging my head! I didn’t try the other tapas restaurant to give a fair comparison but the vibe we felt when walking past to get to Zuzu was definitely not as homey. I think we made the right choice. Although speaking of choices we couldn’t decide what to get for dessert so we just got one of each!

y1wdu49oQoyYlfXEmxTBbA

Clockwise from the top we have a chocolate cream de pot, a caramelized apple empanada, a basque cake and a piece of heavenly tres leches cake. Despite the 12 small plates prior to this all four dessert plates were completely cleared. I can’t say enough how much I loved this meal. If you ever find yourself hungry in Napa and unsure where to eat I think you must go to Zuzu!

wine

Virginia Wine Expo 2018

The Virginia Wine Expo is a bit of a tradition for me and mine. I’ve been for the last five years running, pretty much since I moved to Virginia. Lloyd has been with me since we were first started dating and this is the second year his Mother and Sister have joined us.

fullsizeoutput_5554

This year, though, was slightly different since the venue has changed. We had the distinct pleasure of being hosted by Richmond’s historic Main Street Station. If you ever driven up I-95 you have probably seen the distinct clock tower facade. Recently they have built a glass sided platform that really gives the station something special and was an excellent place to showcase Virginia wine.

xAN5t6mFRgifFM51LpG%JQ

We walked in and were greeted by Poseidon and the ubiquitous Virginia LOVE sculpture. Because Virginia is for lovers and the God of the sea.

Reidel glasses greeted us once we cleared the ticket check and the ID verification. I have quite the collection of Virginia Wine Expo glasses after years of attending this event. In fact, the quality if the glasses have made me a die hard Reidel fan.

One of the best things about the Virginia Wine Expo is their yearly showcasing of both a domestic and international wine region. This year we sampled Oregon wine as well as Australian/New Zealand Wines. The delightful Oregon Pinot Noirs and the crisp New Zealand Sauvignon Blancs really made my visit this year. I visited the Willamette Valley a few years ago with some family and friends. I will have to write about that trip but allow me to wax poetic about Oregon wine for a few lines.

+ZoUMXSqQ+WUjN5GgIueIA

On my trip to Oregon we visited Adelsheim, Brooks and Erath. We visited a number of other wineries as well but Brooks and Erath continue to be some of my favorite that I have ever been to. One other winery, Big Table Farm, which is not show cased here was the standout of that trip though. I feel like I should soon write a blog about that trip to the Willamette Valley. In the meantime, a brief word on the Australian and New Zealand wines.

New Zealand is known for their crisp, citrusy wine. And these didn’t disappoint. I love the clean grapefruit finish you often get with a really quality Sauvignon blanc. The Drylands and Three Brooms were especially refreshing. Which brings me to the many. many Virginia Wines we drank.

I have been to a number of these wineries in person and they all do a very good job of showing off the best Virginia has to offer. However, they aren’t some of the more prominent Virginia wineries. These would require much more in depth blogging and I will try to do them justice in subsequent entries. There were a couple of non wine vendors worth mentioning. The I See Spain grater bowls and plates were a huge hit.

sovkHo7wR%qaS0jgqJ53TA

Lloyd decided to eat a couple of cloves of whole garlic which made for a malodorous few tastings following our visit to this booth. The very neat thing about these bowls and plates is that the bottom is textured so that you can grate cheese, chocolate, garlic, ginger and other foods. I have to admit that I bought a set and am looking forward to using them and blogging about them! Another new addition to the wine expo was a surprising number of distilleries the attended. While I normally love Whiskey I didn’t want to ruin my chances of a hangover free Monday so I only visited one such booth.

7ebJLFp5QNSx3DbixgkjgQ

The whisky here was quite tasty and surprisingly smooth. I look forward to making a trip up there soon and promise to write about it when I do. All in all the 2018 Virginia Wine Expo was a definite success. It’s also nice to be enough of a grown up to know that I won’t be hungover tomorrow morning!

Food

Crisper Raid Quiche

Do you hate having to throw away food that you bought and never got around to using before it hit the expiration date or just got plain gross? Me too! I usually end up pulling everything that’s about to go bad out of the fridge and staring at it until I come with a way to throw it all together. Today I was slightly more prepared though and had a couple of pie shells in the freezer so I could make quiche with whatever was left in the crisper. And because pie shells come in pairs I made a second quiche that I could freeze and eat next weekend.

IMG_0247

After today’s crisper raid I had half a red onion, a smallish red bell pepper and a box of sliced mushrooms. Plus some assorted herbs that were on their very last leg; basil, chive, and parsley. I chopped everything up and added it to the pan starting with the onions. I then added the bell pepper, mushrooms, some mince garlic and the herbs. And of course I added the mandatory trifecta of salt, pepper and garlic powder.

Once things were cooked down I added in some chicken sausage that I recently discovered. I like this one because it isn’t maple flavored or apple flavored or some other sweet nonsense. It’s actually a pretty nice replacement to the fattier pork country sausage.

IMG_0245

I chopped up the sausage and added it to the pan and gave it good stir to coat everything and then added it to the waiting pie shells.

IMG_0250

It actually looks pretty good right now. My fiancé, Lloyd, would probably love it if I just turned it into a massive empanada instead of adding the eggs. Except he loves eggs. Lloyd is basically Gaston and eats five dozen eggs everyday and is roughly the size of a barge. Speaking of eggs, I made a quick egg mixture with about 8 eggs, a splash of cream, salt and pepper. My secret ingredient is about a tablespoon of corn starch. It makes the eggs extra light and fluffy when they bake.

The next step is the all important cheese and decorating step. I had a little bit of jack cheese left in the fridge and I mixed that into the filling before I added the eggs and then topped with some cheddar and sliced cherry tomatoes. It made for a pretty pre-bake picture. And an even prettier post-bake shot.


Serves: 1-10. Who is to say you can’t eat two whole quiches all by yourself? You do you. I will not shame you with suggested portion sizes.

Prep time: 30 minutes

Cook time: 45 minutes

Ingredients ***the veggies and herbs I used are just a suggestion, feel free to use whatever is in your fridge***

  1. Onion
  2. Bell pepper
  3. Mushrooms
  4. Herbs (chives, parsley, basil)
  5. Minced garlic
  6. Salt, pepper, garlic powder
  7. 8 Eggs
  8. 1 Tbsp Cream (optional)
  9. 1 Tbsp Cornstarch (optional)
  10. Cheese
  11. Cherry tomatoes
  12. Frozen pie shells

Recipe

  1. Preheat oven to 350 degrees fahrenheit.
  2. Dice veggies and chop herbs.
  3. Sautee your veggies starting with hardest and ending with softest. I did onions, bell peppers and then mushrooms.
  4. Add in your garlic, herbs and seasonings. Don’t overcook your veggies mix because it’s going to cook some more in the oven and you don’t want a big soggy mess.
  5. Chop up and add in your sausage if you are going for a non-veg quiche. I used the chicken sausage I mentioned above but you could put in whatever you happen to have in your fridge, including lunch meat you need to use up.
  6. While your veggies/sausage are cooking down you can whip your eggs. Add them to a large bowl and fold in the salt/pepper and your optional cream and cornstarch.
  7. Scoop your mixture into your pie shells and stir in some cheese.
  8. Cover your veggies/sausage with your egg mix and then top with more cheese. I added on the sliced cherry tomatoes for some color.
  9. Bake your pies on a baking sheet for about 45 minutes or until the center doesn’t jiggle and the top has gotten a nice golden brown coloration.